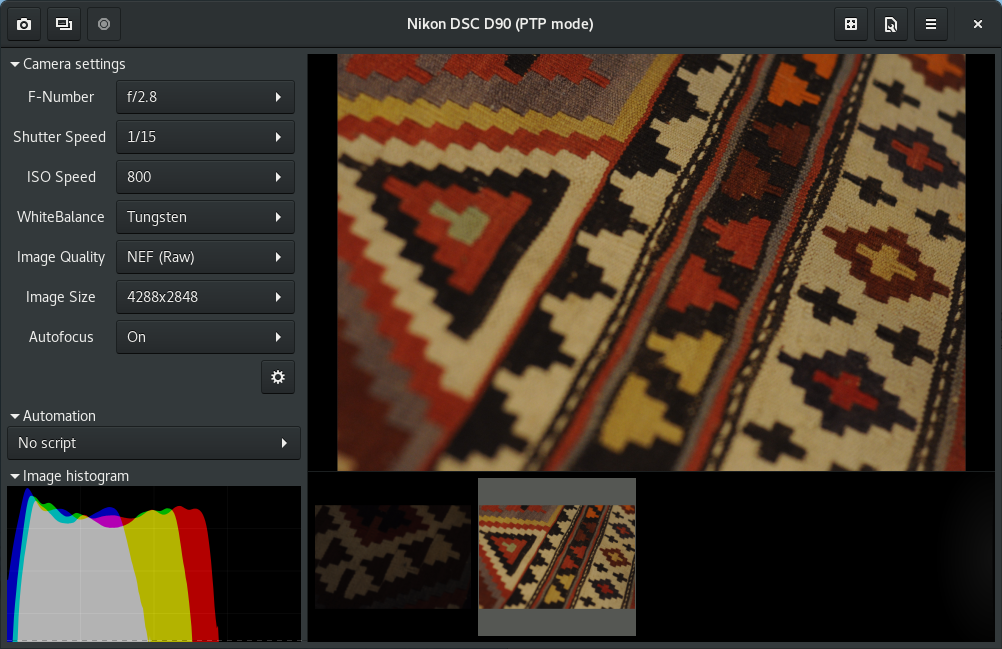
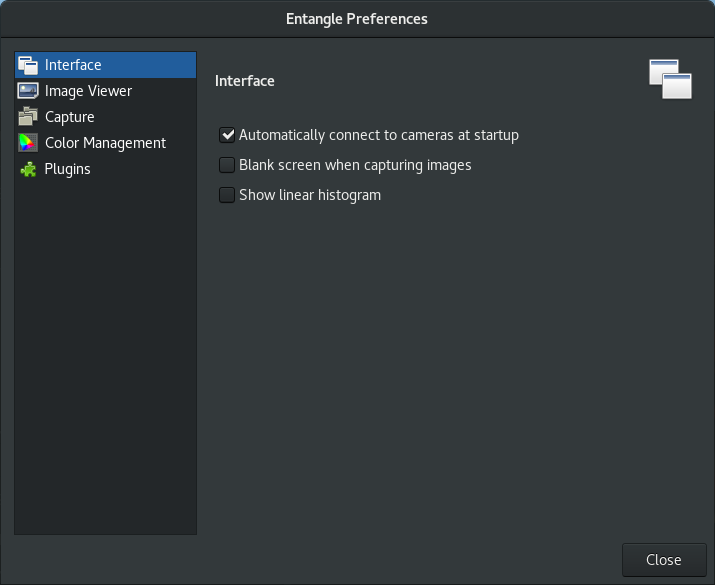
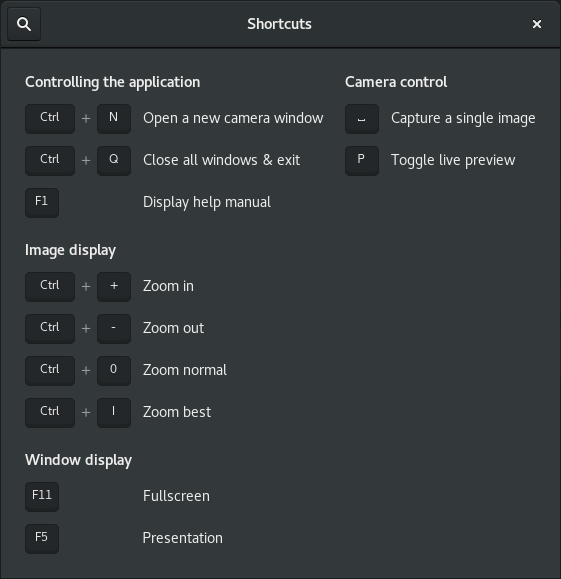
The main camera manager window is where you can control shooting and settings. Along the toolbar are buttons to start a new shooting session, open an existing sessions, show/hide the settings panel, shoot a photo, control the display zoom level and go fullscreen. On the left hand side of the screen there are 100’s of controls for changing camera settings. In the future this control set will be customizable to allow infrequently used settings to be hidden, and important ones prioritized. The thumbnails along the bottom show images captured so far.
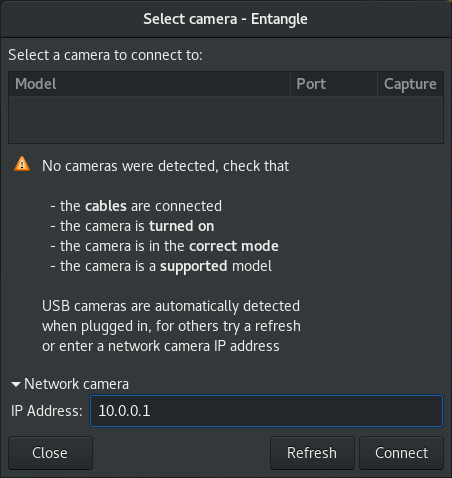
If you don’t have any cameras connected then there isn’t really much you can do with the application. The main camera manager window UI will be in a disabled state, this dialog is displayed allowing a camera to be selected. If you see this then you really ought to plug in the USB cable and turn on camera.
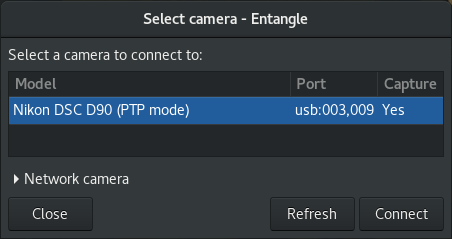
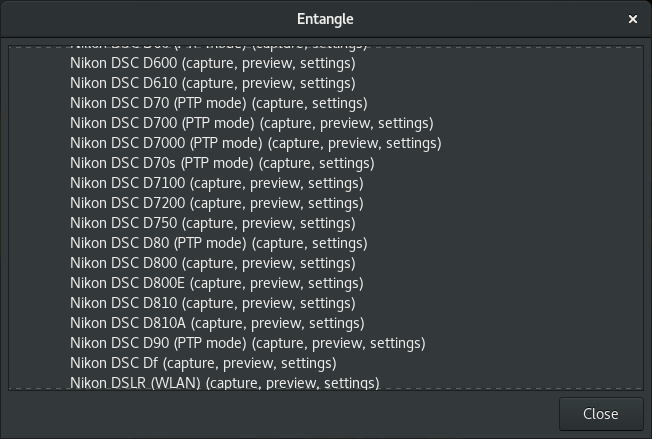
When starting the application it will automatically connect to a camera if only one is present. If there are multiple cameras available, it will display a choice rather than trying to pick on your behalf. This display is also available from the file menu, should it be necessary to switch to another camera on the fly. Not all cameras support USB triggered image capture. This Nikon dSLR does
Recent Linux GNOME desktops have a plugin which automatically mounts any camera as a filesystem on the desktop. Unfortunately that prevents this application from using the camera. If this happens you’ll see a dialog like this one which offers to unmount the filesystem
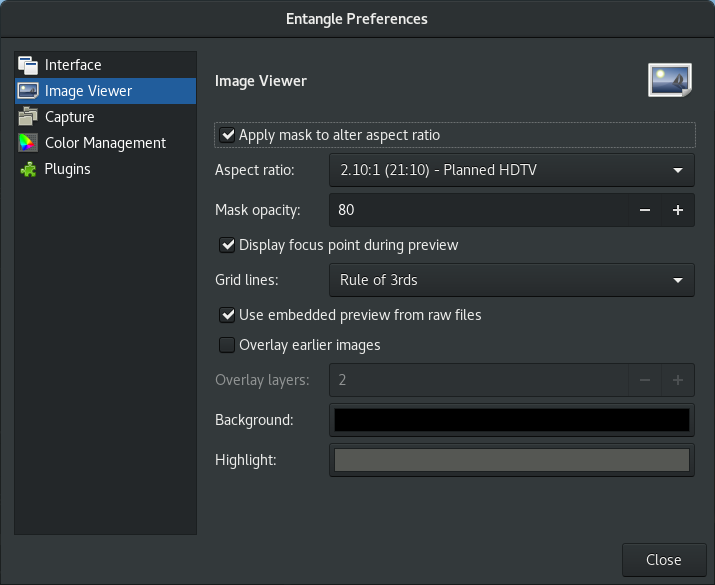
If the camera supports a “Live View” mode then Entangle can display a continuously updating preview of the scene. When preview is active, optional grid lines and focus point can be drawn. It is also possible to mask out edges of the image to give an idea of what the scene will look like in various aspect ratios
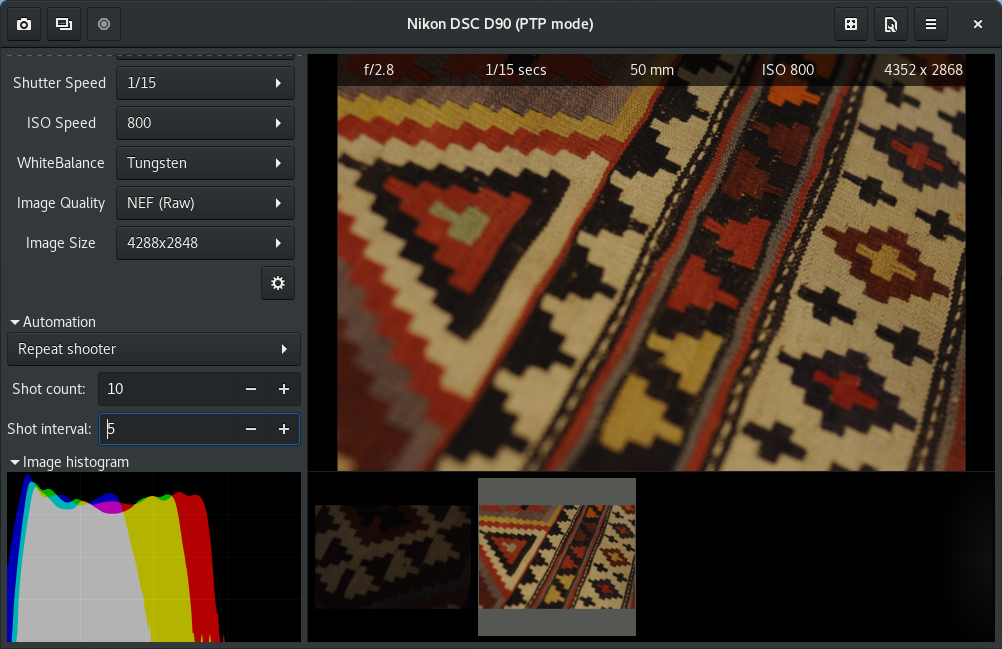
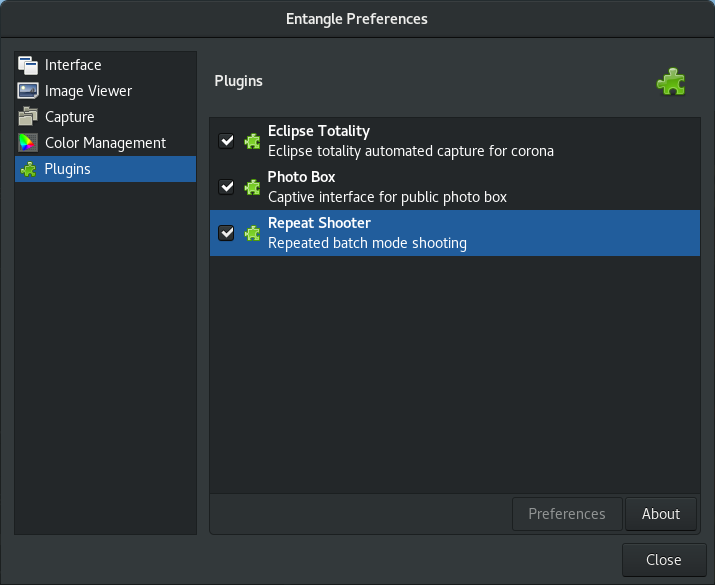
When the “shooter” plugin is activated, the left hand panel displays the option to select an automation script. The shooter plugin allows a sequences of images to be captured with an optional delay between shots
The basic folder preferences control what directory is used for storing sessions. Each session gets a folder, and images shot during that session are saved into the folder using an auto incrementing filename.
There are a number of ways to tailor the image view, which are useful when running in preview mode in particular
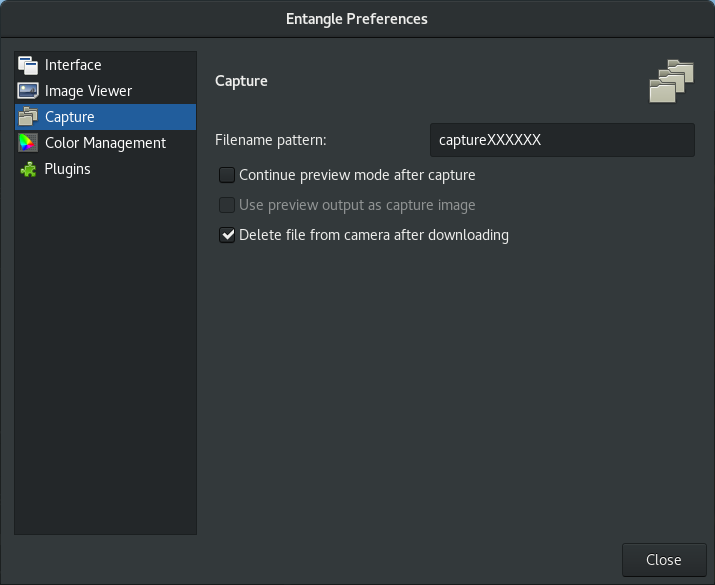
When saving images Entangle will apply the filename pattern provided. It can optionally leave the file on the memory card after saving it locally.
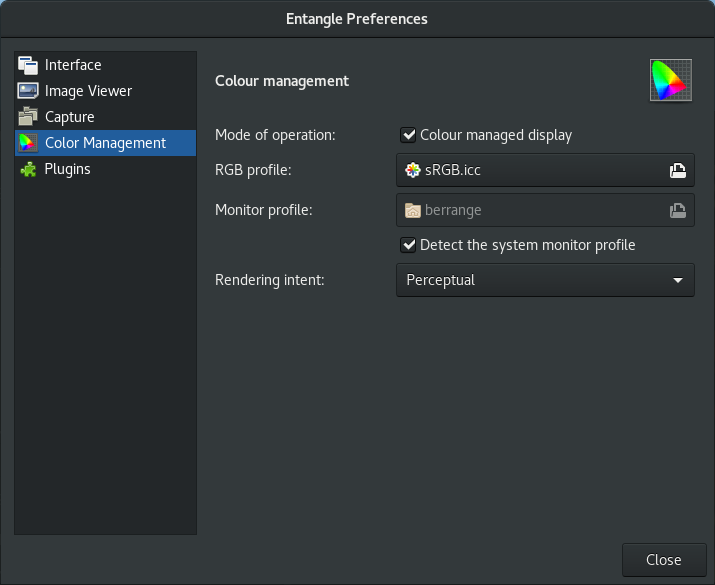
Colour management is of course crucial when shooting and viewing images. The default application settings will enable colour management if the monitor profile is auto-detected. These preferences allow the profiles for the working colourspace and monitor to be overriden.
It is possible to customize the user interface by writing plugins in Python. The first sample plugin turns the interface into a captive photobox, where all that can be seen is the main image display and fill strip thumbnails
